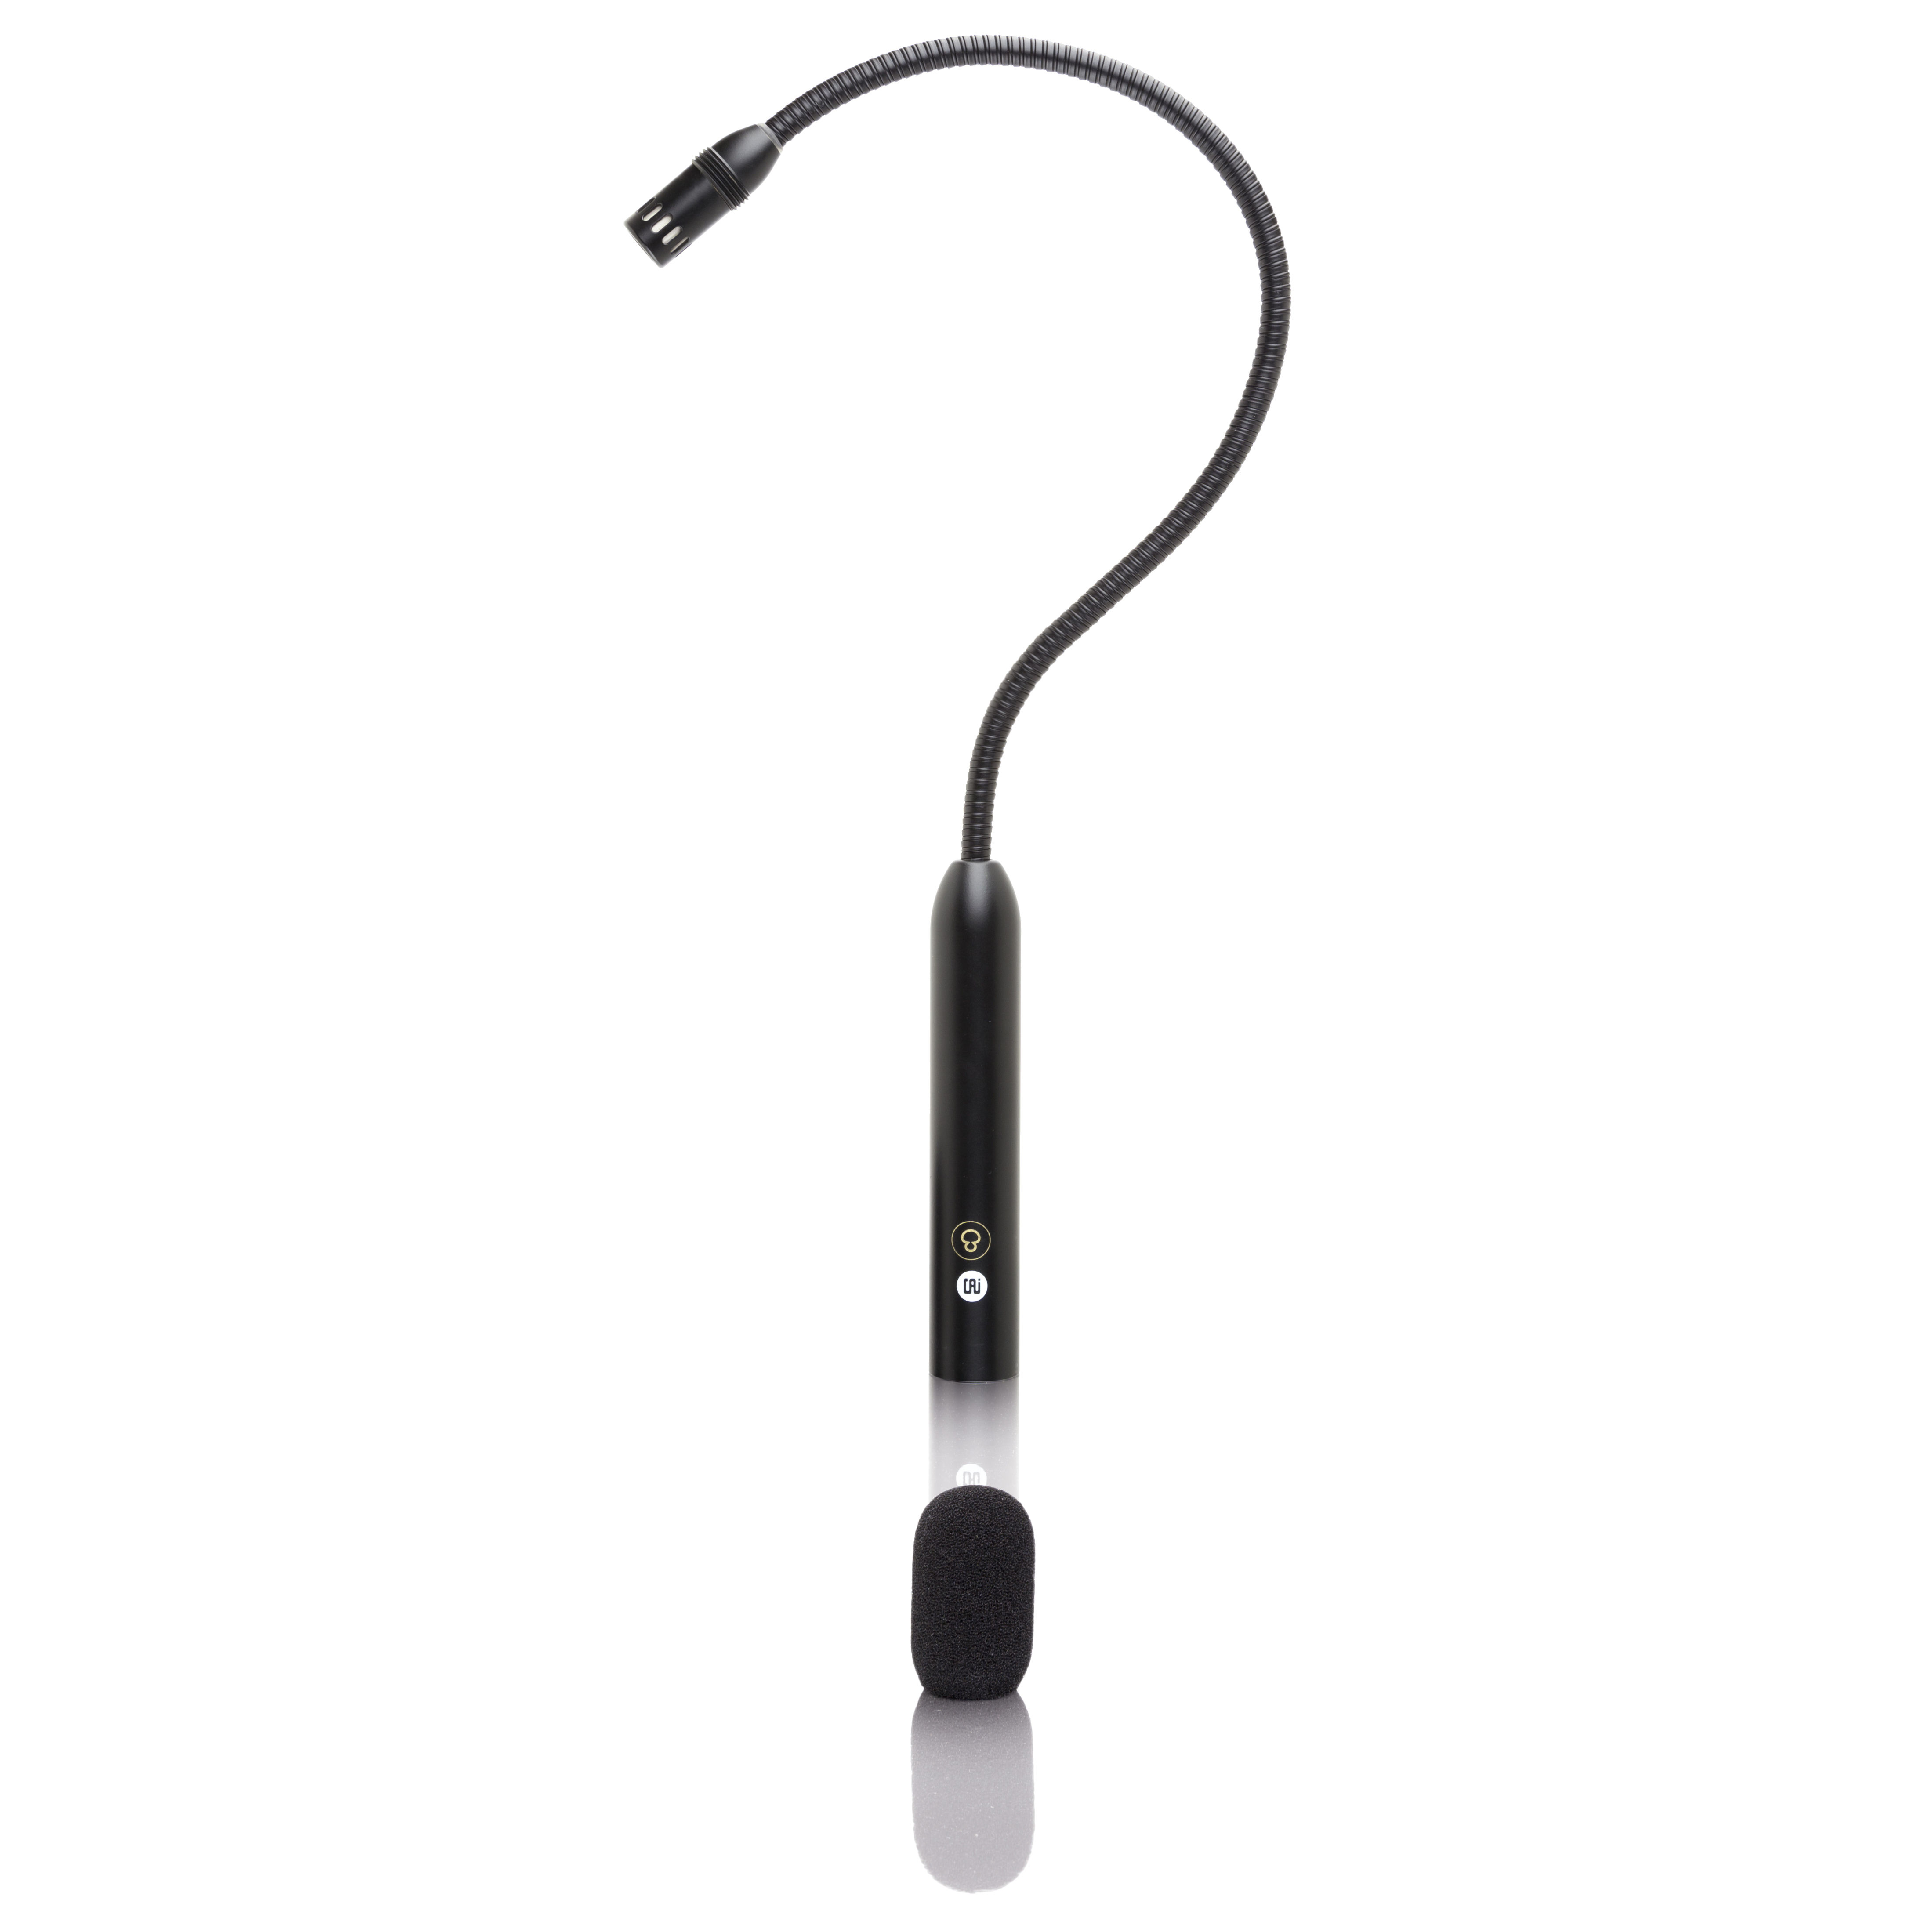
HOW-TO Choose a Gooseneck Microphone by Chris Countryman
 Your pastor may use an earset or lavalier microphone, but your gooseneck is likely the go-to for lay members, visitors, and others who are rushed, untrained, or unfamiliar with your environment. The result is often mushy or boomy sound, loud breath noises, thumps and bumps, or worse.
It’s easy to focus on the technical aspects of microphone performance: noise, frequency response, polar pattern, and overload, but we should keep the new user’s perspective in mind. A visitor at a recent trade show gestured at my gooseneck microphone and asked, “Do you know how you can double your gain from that?” He slid the microphone’s base to the side and bent the boom back toward the center. “When you point a gooseneck straight on, it’s like an accusing finger; people back away. When it comes in from the side, people aren’t intimidated and get twice as close.” This article attempts to offer the best of both worlds: strategies for getting the most from the microphones you have and a technical guide to selecting microphone characteristics that will suit your needs.
The Sound of Your Sound
Manufacturers expect the microphone to sit twelve inches from the face. However, presenters often move right up to the microphone, resulting in loud, boomy sound. Others step away, forcing you to turn up the gain to the edge of feedback, or they grab the microphone and speak into the side, yielding unpredictable levels and uneven frequency response.
Sometimes the issue is intimidation. You can guide speakers who withdraw at the sudden loudness of their own voices by starting with the gain fader very low, and bringing it up slowly after the first few words. By eliminating the startle response, people are more likely to ease into the proper distance naturally. The right microphone pattern also helps. Consider switching from a cardioid to a hypercardioid pattern; this will allow you to position the microphone 15-20% farther away with the same sound quality, with less sensitivity to proximity.
Thumps and Pops
Microphones detect and amplify almost unfathomably tiny vibrations in the air. A hand slapped against the lectern or an exhaled breath create comparatively enormous signals. Consider mounting the gooseneck in a separate microphone stand disconnected from the lectern or in a rubber shock mount. Look for microphones with appropriate mounting hardware or bult-in vibration cancellation. Often positioning the microphone to the side can avoid direct breath, but the windscreen design also matters. Rather than solid foam, a windscreen with a small air pocket near the capsule equalizes air pressure, increases wind rejection, and improves polar response. Ensuring your new gooseneck windscreen screws on or has a screw locking feature will also reduce replacement needs.
Feedback
Move loudspeakers out front of and as far from the microphone as possible and choose your directional pattern to match their location. A cardioid pattern’s null is in back, perfect for cancelling out a loudspeaker located directly between the microphone and the audience. A hypercardioid’s nulls are at 110 degrees to the left and right, ideal for loudspeakers to the sides. Accommodate variable setups either with multiple microphones or with one which allows switchable patterns. With any microphone, pay attention to frequency response: look for a smoother, flatter curve to avoid feedback. Likewise, a microphone which doesn’t maintain a consistent cardioid or hypercardioid pattern across frequencies will likely surprise you with feedback.
Think outside the gooseneck
Finally, consider giving your gooseneck a companion. Awards show sound engineers will discreetly tape a backup omnidirectional lavalier along the underside of the gooseneck. The small lav hides beneath the gooseneck’s windscreen and plugs into a spare console channel. Switch to the lav when you need wider coverage or extra protection against a very close speaker.
For more information, please visit www.countryman.com.


